
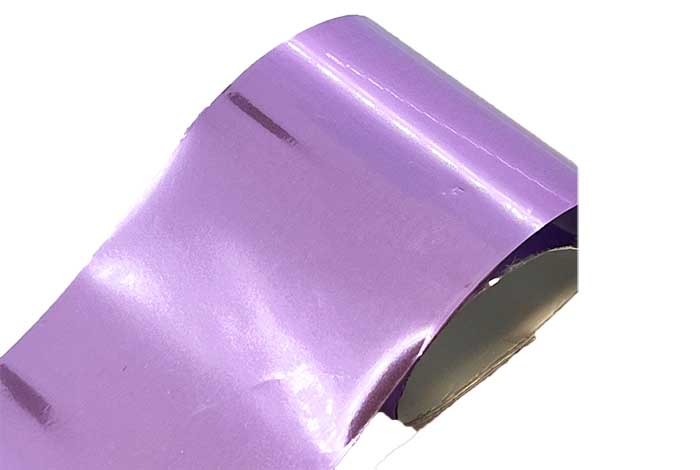
73 - Metallic Amethyst Foil
Amethyst is a very popular and stunning metallic lilac foil that is extremely versatile. It would suit full coverage, partial coverage or random placement.
HONA stock a huge variety of nail art foils, including lace, designer, animal, shapes, floral, marble and various colours designs!
Why choose HONA nail foils
HONA nail foils are a contemporary, easy-to-use nail system that allows you to create unbelievably beautiful nails in minutes. It will allow you to create amazingly intricate nail art and make your designs stand out from the crowd.
What are the key features of these nail foils?
- 1m or 5m roll of foil
- 4cm wide
- Packed in a re-sealable bag
- High-quality foil
- UK manufactured
New to foil art?
Try this technique and look like a pro! The beauty of nail foils is that it can never go wrong. Unlike some trickier techniques that may require a steady, precise hand and lots of practice, foils are all about having fun and the element of surprise. Here is how...
STEP 1: PREP + BASE
Prep nails ensuring they’re polish-free and file into shape. Apply one coat of your usual base coat gel polish, then cure. Then, get ready with your gel colour.
It can be ANY shade – your everyday nude, a classic red or something to coordinate or clash with your outfit – the choice is yours.
Apply the first coat then cure and repeat with the second layer. Or, just wait to completely dry if using regular nail polish.
STEP 2: FOIL GLUE
(Only needed for full coverage nails or use on non-gel polish-random foil art can just be pressed into the tacky layer of gel)
Once cured, wipe away the shine with your standard gel wipe of soloution. It’s essential to take this layer off so that the nail glue can adhere to your polish. Plus, it will better the overall, finished effect, too.
Nails should look matte and dry which means you’re all set to apply a thin layer of nail glue and wait to dry. Drying times vary but leave for at least 2 minutes for best adhesion.
STEP 3: APPLY FOIL
The only tricky part of this technique is choosing which foil design to go for!
Firstly cut to size and place the foil design side down to transfer the foil effect onto your nail.
Gently press on to the nail bed and make sure you press out towards the side walls for full coverage. Then carefully peel away; wherever the nail glue is, the foil will attach itself to.
Why not play around with only applying the glue to tips for a fun twist on a traditional French nail or just apply glue onto one fingernail, instead of all five?
STEP 4: TOP COAT
Now set your beautiful designs by applying a Top Coat Gel Polish (or regular one if using normal polish). Make sure you cap the free edge – this means sweeping the topcoat brush along the edge of the nail tip to create a seal to avoid chips.
Finish off with a cuticle oil massaged around the nail bed to rehydrate and add a further, final layer of super-shine.
Be sure to give us a follow on social as well as we love hearing your thoughts and seeing your incredible creations, tag us with #HONASQUAD
You can find us on Instagram - @homeofnailart, Facebook - @thehomeofnailart
Last but not least, join the Hona Squad by signing up for the latest news, offers and ideas here
Shop securely with Home Of Nail Art's Shopping Promise:
- Dedicated customer service and product support
- Fast & Free UK mainland shipping over £75
- Money-back guarantee - Not 100% satisfied? No problem! Simply return it to us within 7 days for a quick , no quibble refund. T&C applies, not applicable to HONA gel system and is at the discretion of HONA
Choose options