
Wedding Nail Art Tutorial - 5 Unique Designs
Step into a world of elegance with HONA nail tech, Maisie Jackson, as she showcases five stunning wedding nail looks using our exquisite Wedding Edit. From timeless classics to modern twists, Maisie demonstrates how to achieve the perfect manicure for your client's big day. Whether you're dreaming of soft pastels, delicate details, or a touch of shimmer, our Wedding Edit offers endless possibilities to complement any style.
What You'll Need For Each Look

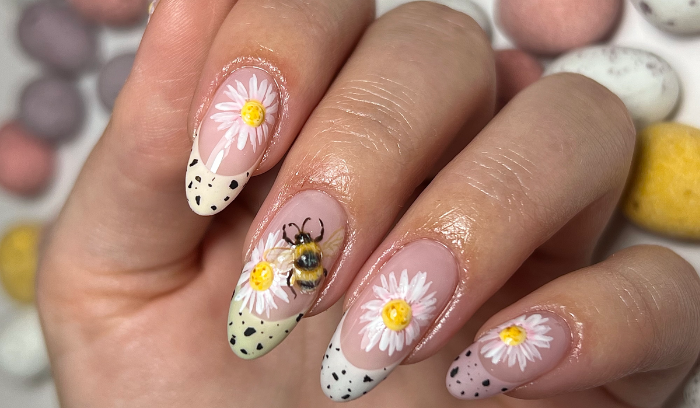
1. Flowers
- Linen Gel Polish - Included in Wedding Edit
-
Polar Detail Paint - Included in Wedding Edit
Green Velvet Detail Paint - White Detail Paint - Included in Wedding Edit
2. French
- Pink Cloud Gel Polish - Included in Wedding Edit
- White Detail Paint - Included in Wedding Edit
- Glitter Silver Detail Paint - Included in Wedding Edit
- SuperShine Top Coat
3. Abstract Gold
- White Sands Gel Polish - Included in Wedding Edit
- Selene Gold Flakes
- SuperShine Top Coat
4. White Lace
- Buff Gel Polish - Included in Wedding Edit
- Get Tacky Full Cover
- White Lace Foil
- SuperShine Top Coat
5. Pearl
- Songbird Gel Polish - Included in Wedding Edit
- Clear Chrome - Included in Wedding Edit
- SuperShine Top Coat
You can get all the gel polishes, along with clear chrome and some of these detail paints at a discounted rate when you purchase The Wedding Edit. Our edits include six gel polishes and four detail paints and are priced at just £90 +VAT.
Video Transcript
Hey everyone, its Maisie and today I'm going to show you five bridal nail designs using HONA's new Wedding Edit. This stunning collection features six beautiful gel polish shades and four detail paints, which are absolutely perfect for the brides to be. For this first design, I'm using the shade buff, and I'm just applying two even coats. Then I'm taking the full coverage get tacky polish, and making sure to apply that really smoothly and evenly over them but they only cure for only 30 seconds. HONA honestly has the best selection of foils, there are so many to choose from. But this is just the lace for white lace foil. I need to do foils more often. This has made me realise that it's so easy but so effective. So that's the first design.
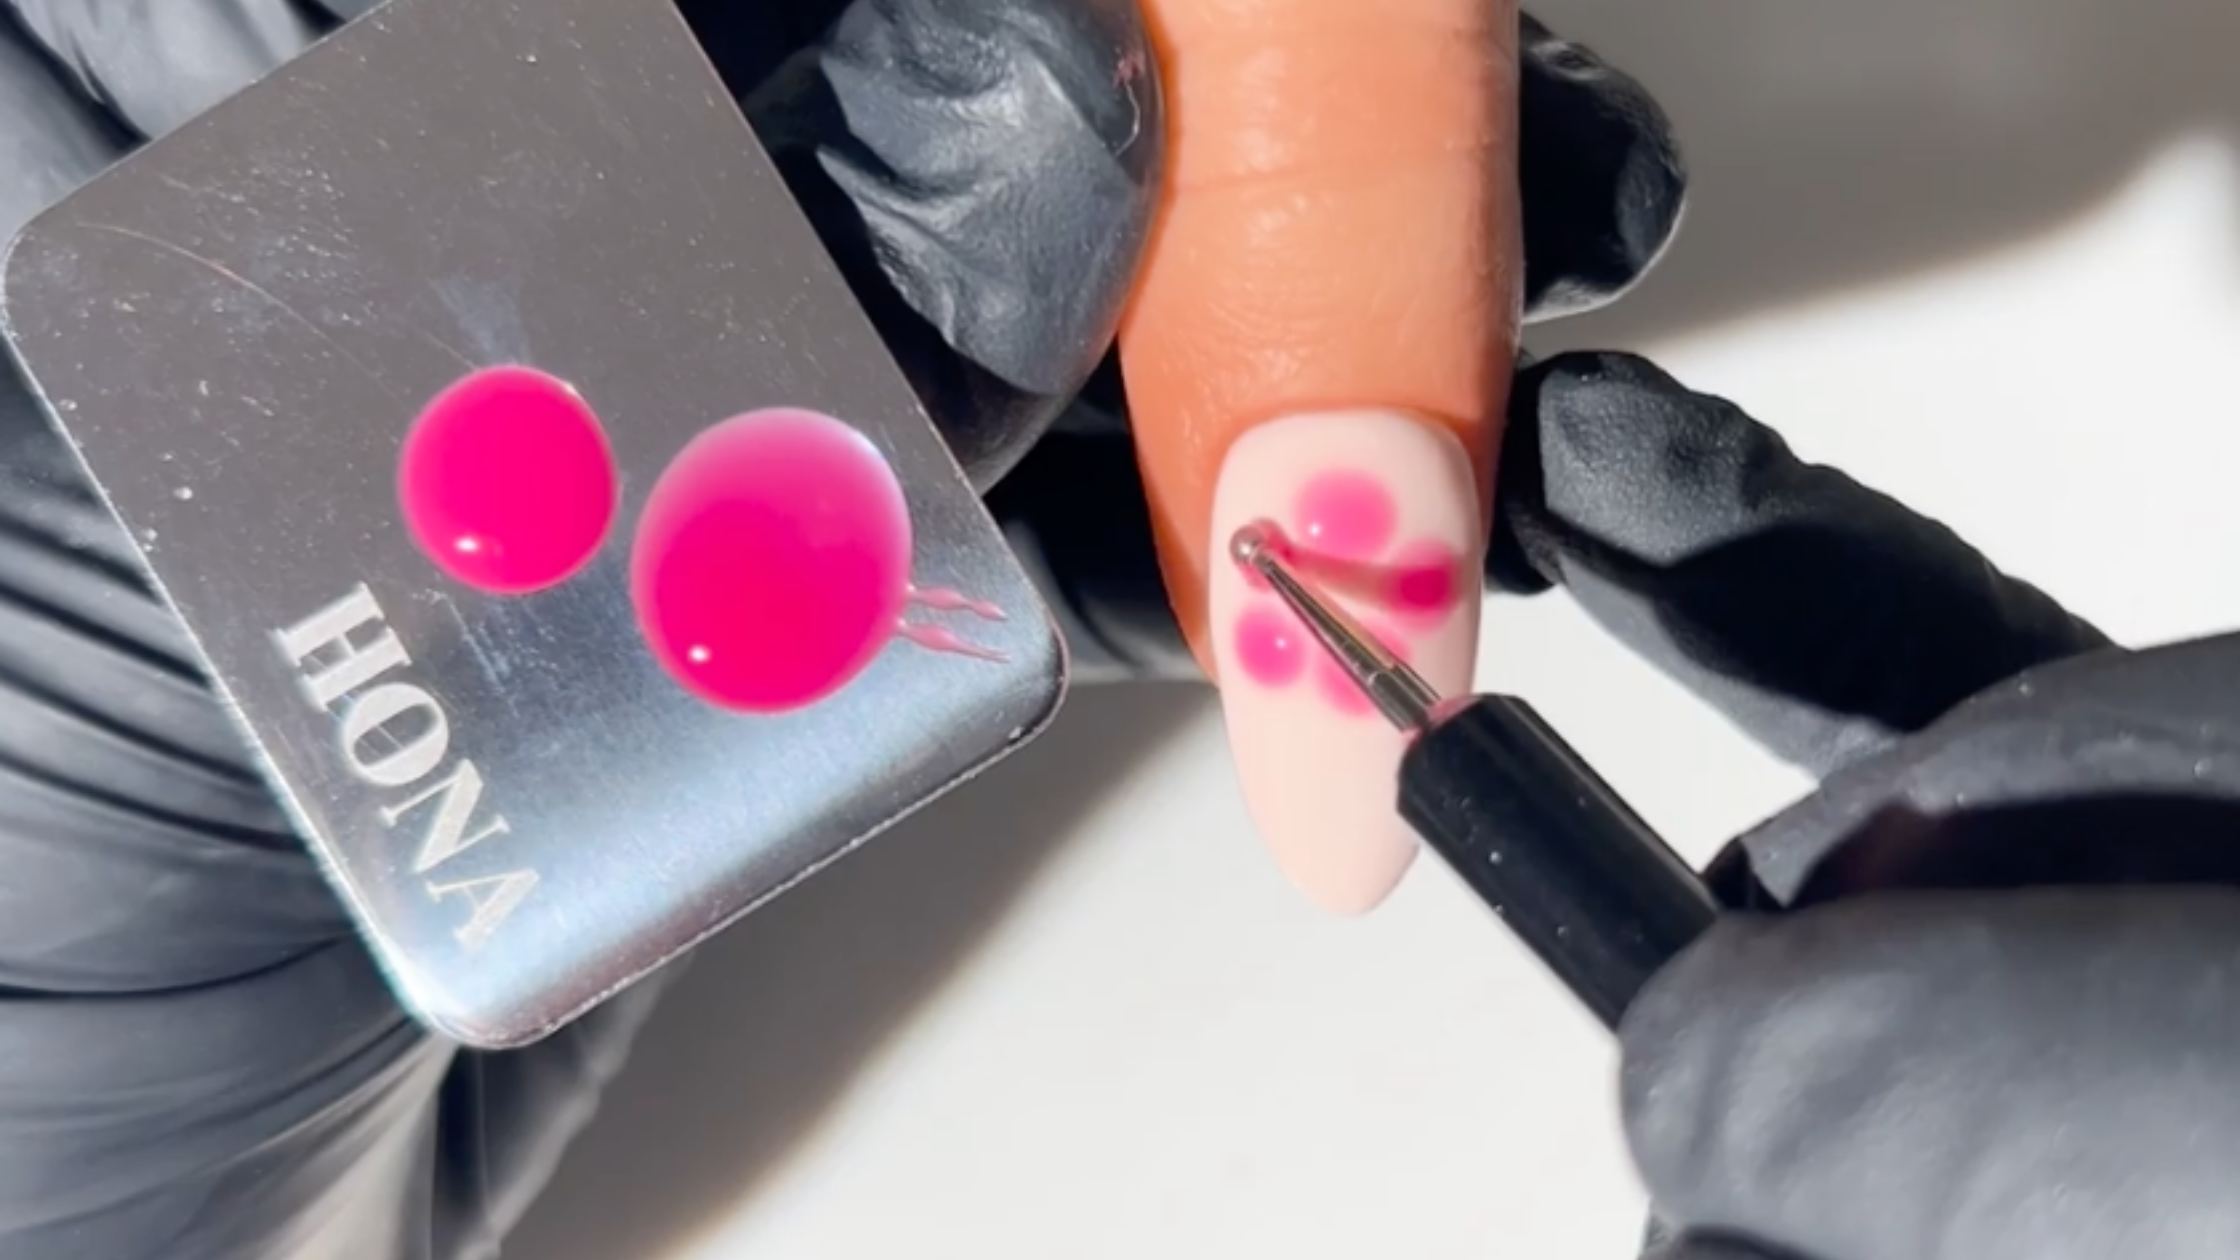
And now moving on to the second, we're gonna do a gorgeous French moment with a little bit of a twist. So I'm using pink cloud gel polish to start applying to even layers. And then for the French manicure would I use anything other than HONA's white detail paint? Honestly, if you are using any other white detail paint for your French manicures switch to HONA's right this second, because it is so pigmented, so easy to use the most amazing thickness and viscosity. I just am absolutely obsessed. I get quite a lot of questions asking how I do my French. And honestly, I don't think there's a formula to it. I just think approach it's confidence we don't want any shaky lines. And always start with less and add more. Also let the brush do the work if you make sure to fully coat your brush, not too much because we don't want to overload product. But the HONA's longliner brush is my go to for French. To elevate this brighter look to something a bit more bougie for the brides out there, I'm going to add the glitter silver as a little outline. This is so subtle, but it actually just adds so much and it just catches light really beautifully. After curing for 60 seconds or then just play the super shine topcoat. And I also find that just finding the edge after a French manicure really helps to make it crisp and clean. Just bear in mind that you should only file the topcoat layer, you don't want to go any further down because that will affect retention.
Next up, of course had to do full cover Chrome, I'm using songbird gel polish as the base, I'm going to use HONA's clear Chrome as well. So I just take a little eyeshadow applicator and apply on top of fully cured super shine topcoat base. When applying your base topcoat layer, it is so important to make sure that there's no pitting or streaks because this will really show up when you apply the Chrome. So it has to be as smooth and even as possible. But my absolute favourite tool at the moment is HONA's brush and it works so well for removing any excess chrome without being too abrasive on your base. Then just seal that in with another layer of topcoat. And that's the chrome done. Look at how that shiny it is always going to be one of my favourite designs.
Okay, next up milky white with some encapsulated gold. And this is actually what I've got on my nails at the moment. I'm just loving it so much. So I'm using the White Sands gel polish to begin and I just put one coat on. And then I'm using this selene and Olympus gold flakes. You all might think I'm biased, but honestly these flakes are to die for. I'm still going to have these pots when I'm old and grey, you need the smallest amount. I literally take one flake and then just kind of disperse it in the lead to break it up a bit because you don't want to apply too much with this. I then just use the cleanup brush and dab it onto the tacky gel polish layer. And then I just use the White Sands Polish again to go over it to give it the milky kind of look. And then we're going to layer it with some more flakes. I was originally just going to use the Olympus gold flakes because they are my go to for any design. But I actually got sent these selene flakes as well. I actually like the dimension of using both of these just because they shine definitely in different lights. And I don't know I just think it's nice to shush it up a bit. I do think this might be my favourite design out of all five, but I do quite like the last one.
So this final design is just some abstract flowers and I start by using linen gel polish as the base. When I first did this design, I just did it with a white detail paint but I forgot that Polar is in the collection, so it's a bit more sheer, and it's got a slight shimmer to it, but it's really pretty for just more subtle design. Now I really struggle with abstract designs because I'm a little bit of a perfectionist so everything has to be perfectly placed. But if you struggle with flowers, this is the way to go. They look so effective, but you can make them look imperfect, and they still look perfect. So I was using the cleanup brush there to just place the petals down. And now going over to green velvet, just create some little vine leaves. Just a side note, please ignore my croaky voice. It's been a long day as a nail tech. I love just adding a little bit more dimension make it look a little bit more detailed. So I'm just taking green velvet and a little bit of the white to create slightly lighter green. And then I'm just going to take my long line of brush and add a few strokes into the leaves. Then to finish I just take a dotting tool or if you don't have one, she has an orange wood stick like me. And I'm just going to add a few tiny dots into the middle and topcoating to finish and those are all my five wedding bridal edit designs. Let me know in the comments which designs your favourite. I think I'd have to go for the gold leaf or the foil or the flowers or the chrome.