
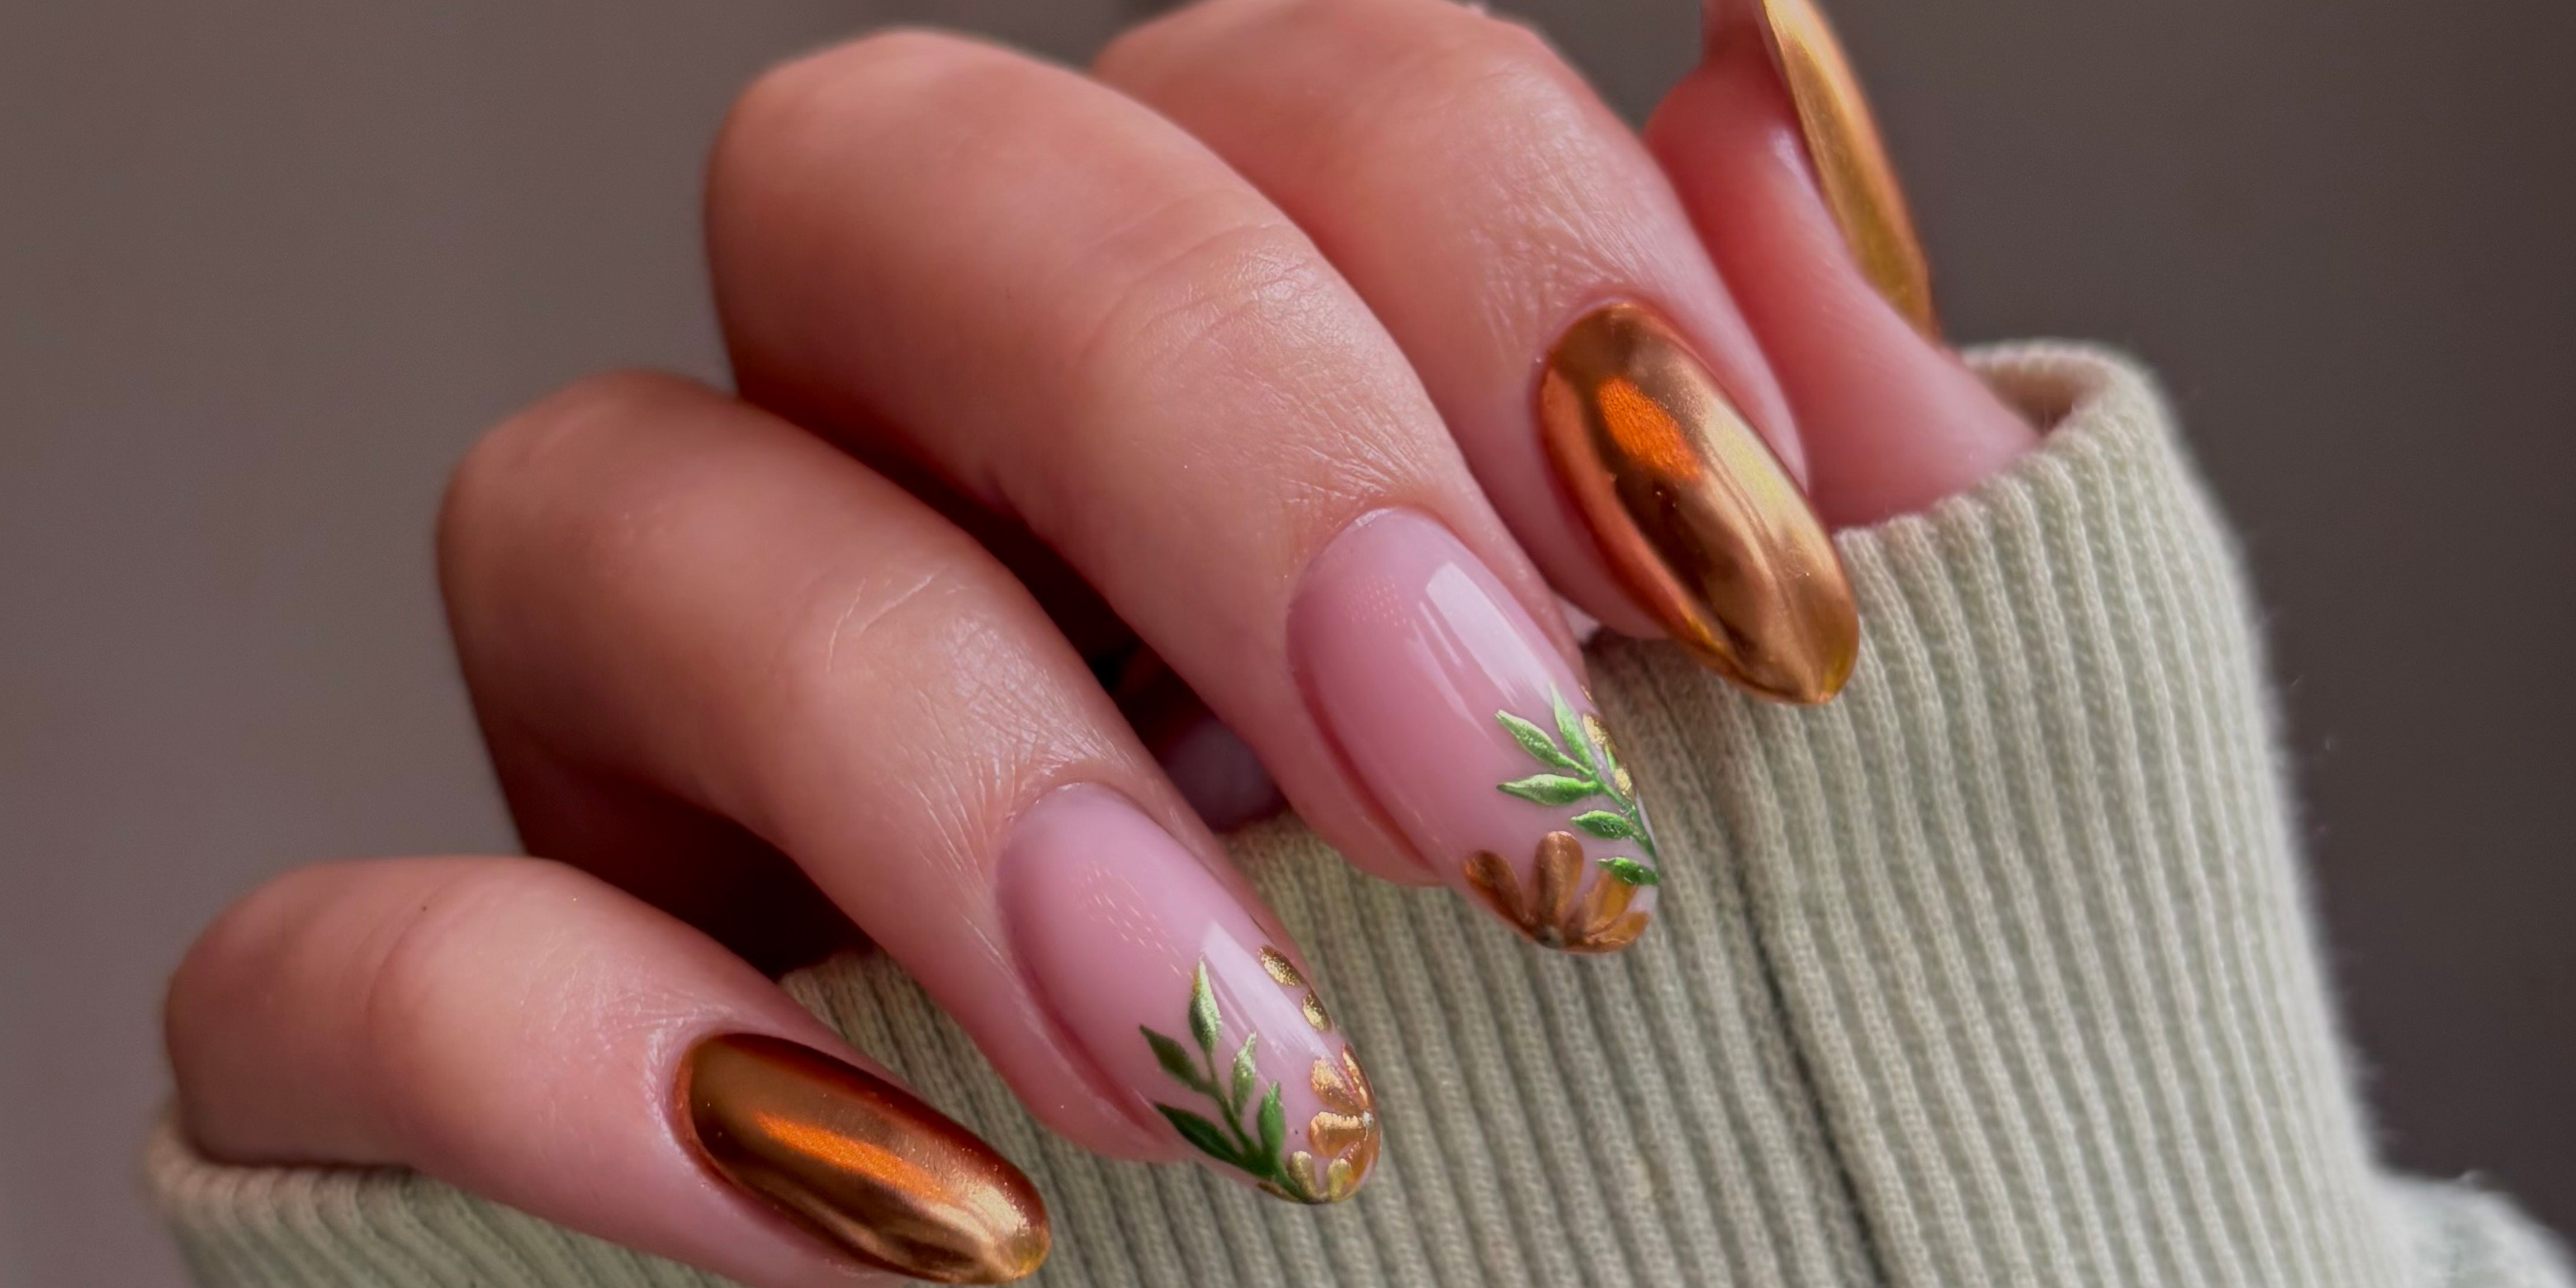
E-file infill, prep and walkthrough tutorial
When it comes to flawless nails, great prep is everything and that’s where the E-File comes in. In this step-by-step tutorial, we’ll walk you through exactly how to use your E-File with confidence, from understanding the screen controls and handpiece lock, to mastering cuticle work, exfoliation, and safe debulking. You’ll see how different drill bits and speeds make all the difference, plus the little techniques that keep your prep thorough while protecting the natural nail. Whether you’re brand new to E-File or looking to refine your skills, this guide will give you the clarity you need to make it a seamless part of your routine.
WATCH THE TUTORIAL NOW
WHAT YOU NEED
HONA EDUCATION
Want to build confidence with your E-File? HONA offers both Online E-File Beginners Courses and In person E-file Beginners Course, designed to help nail techs master every stage of electric filing. From understanding the ProFile system and over 30 different drill bits, to safe prep, removals, and infills, our training covers it all. Whether you prefer to learn at home or face-to-face, you’ll gain the skills to work faster, more precisely, and with complete confidence behind the E-File.
TRANSCRIPT
Let's do a quick run through of the E-File. At the top here around the screen, we have our speed dial, which controls the RPM. The button that I'm pressing underneath is the play pause button, and when a P pops up on the screen, that means our E-File is paused. On the right hand side, we have our reverse and forward mode so we can change the direction that the E-file is moving.
And on the left hand side, we have our input for our E-File handpiece and the USBC charging point. As you can see, if something isn't quite right, we're gonna get an ER message on the screen, which means error. This could be that your handpiece isn't plugged in, or your drill bit isn't secured properly, and on the handle, we have our locking mechanism to secure our drill bits.
We're going to start by pushing back the cuticle area and lifting up the proximal fold, which is essential. When you are doing E-File prep, you can use a cuticle pusher, but my preference is to use the Etch and loop tool, specifically the Etch end, which is essentially a reusable orangewood stick. We're gonna start in the sinus zones, which the areas here that are marked in green.
These areas tend to be more sensitive, but it's really important that we start there. Open up that sinus zone and then work our way across the cuticle area to the other sinus zone. Let's have a little closer look now, so you can see lifting up the sinus zone and the proximal fold. We've got lots of hidden cuticle that we need to exfoliate away with our E-File and down that sidewall area.
Lots of dry skin. That can also be exfoliated using the right drill bit. We're starting with a fine flame bit. This grit is perfect because the skin isn't excessively dry, and we're gonna use this in nine to 14. RPM. I tend to fall in the middle at about 10 to 11 RPM. I'm going to start from the center of the cuticle, moving towards the left using these very small little movements.
I'm avoiding that sidewall area. I don't wanna drag the drill bit down the nail plate. I'm going straight onto the skin and then again moving towards the left. And we're doing all of this in forward mode. Still in forward mode, I'm using the point of my flame bit just to go up into the sinus zone and make sure that area is fully exfoliated as well, and I'm only ever using enough pressure to control the E-File.
I'm not bearing down on the nail plate at all. Keep in mind that the drill bit shouldn't be at a steep angle, and it shouldn't be completely flush with the nail plate. It should be at a slight angle. Once we finish working from the center of the cuticle area to the left hand side, we're gonna switch our E-File into reverse mode and do exactly the same.
But working from the center of the cuticle area to the right hand side, keep in mind that we're not using long sweeping motions. We're using very small little buffer motions. This gives us much more control and we're gonna keep dusting as we go along. Because what we think is cuticle might actually just be dust that's already been removed, and this is gonna reduce the risk of overfill an area, a little dust checking if everything's clean, and then moving to the right hand side.
So we're buffing away from the side wall on that skin. As you can see, I'm constantly dusting and constantly checking, and this is gonna always highlight where I might have missed. Now you can see that area in that sinus stone is completely clean. Once we finish going in both directions with our flame bit, we're gonna move on to using a round barrel bit again.
In nine to 14 RPMI tend to fall in the middle at about 10 or 11. We're doing exactly the same as before, where we're starting from the center of the cuticle, moving towards the left in forward mode. Now this bit is specifically designed to impact the skin, so we're gonna be using this bit to exfoliate The skin is essentially replacing an exfoliating scrub.
Once I finish going from the center to the left, I'm gonna put my E-File in reverse mode and go from the center to the right. We are using the same angle, the same drill bit position, and again, the same sort of shuffling, buffing motions rather than long sweeping motions. And as you can see, I'm focusing this mostly on the skin, where I've got dried bits down the sidewall, and I round the cuticle area.
I've already cleansed and cleaned the nail plate with the flame bit, so I don't need to do this again. Once we finish prepping with the round barrel bit, we can move on to nipping the cuticles with either cuticle, scissors, or if you prefer, you can use spring scissors or nippers. I prefer scissors. That's just my personal preference.
I pop my thumb in the left hand hole, my middle finger in the right hand hole, and I use my index finger to support the tool. When it comes to trimming the proximal fold, we're gonna start at that sinus zone. We shouldn't be starting at the sidewall area. The nipping should always begin at the sinus zone, otherwise we're at risk of overdoing it.
So we're gonna go in from the sinus zone, and then we're gonna gently begin to nip away at any non-living tissue. You can see that my bottom blade goes underneath what I intend to trim, and my top blade goes on top of it. So my scissors aren't flushed with the skin. They're an angle to make sure that I'm able to get underneath that skin that needs to be trimmed away.
We finished the majority of our cuticle prep until after application now. So now we just dehydrate the nails with 100% pure acetone, and then we're gonna go in with our sanding bands to etch the natural nail plates. So the new growth area that you can see on the nail before going in with our application.
I am using a one 50 grit sanding band on the mini mandrel, and I'm using this in two to three RPM. The maximum RPM that we recommend would be six RPM, but this would be mostly for refining after application, not on the natural nail. So I tend to recommend around three RPM max for natural nail prep. After dusting off, I like to wrap an acetone soaked lint-free wipe over an orangewood stick and just wipe down the sidewalls to ensure that that's completely clear of debris.
We've now applied our hard gel, and I can show you the final finishing touch that we can do with our drill bit before sending our client on their way. We are going to apply a generous helping of cuticle oil to all of the skin surrounding the nail plate, and then using our large ball bit in eight to 11 RPM, we're going to massage the surrounding skin around the nail plate.
To get rid of any non-living tissue, the cut core oil is going to penetrate into the skin and also act as a lubricant to stop friction whilst we're working on the skin. And as you can see, the ball bit is just lifting any non-living. Dead skin cells that surround the nail plate, and this is the final result after our prep routine.
As you can see, the skin looks hydrated. There's no sign of dry skin, and as long as the client follows their hydrating aftercare, their nails shouldn't look too different to this when they come back. The goal of an infill is to remove around 70 to 80% of existing product, particularly the apex, which would've grown out.
So we need to remove that apex so that we can then reposition it later on when we apply our new product. It's also imperative that we remove and refine any lifted product and lift lines. We're going to start debulking using the safety barrel bit in a core grit. We're starting with a core grit because there's quite a lot of product to get through, and this is gonna shave through that an awful lot quicker than a medium grit.
If you're right-handed, you're going to follow all these steps in forward mode, and if you're left-handed, you're going to follow the same steps, but in reverse mode. And we're gonna go for a 22 to 26 RPM for this bit. As you can see, I start in the center, then go to the right, then the left, and then around that area of grow out where the cuticle is.
We're gonna look a little bit strange when we're working on our own hands because you can't quite get the angle when you're working on yourself. But if you are working on a client, you wouldn't reposition their hand like I am. It's important to note that drill bits that are made of carbide should never be impacting the natural nail.
They should only be touching product. There should only be enough pressure to control the drill bit. We shouldn't be bearing down on the nail. The carbide bit is going to do the work for us. If you find that you are having to bear down a little bit too much, then it might mean that you are either using the wrong speed or your drill bit may need to be replaced.
If it's a little bit on the older side. As I pass over that lifted area that I showed you at the beginning of the video, I'm using very, very light pressure and making sure, again, not to impact the natural nail. We're not going to keep our drill bit in constant contact with the nail because we need to mitigate any heat.
And also, if our drill bit was constantly impacting the nail, we would lose control of the drill bit too. So keep lifting up, passing over, lifting up, passing over. As you can see, after debulking with all three different drill bits, we now have a lovely flat surface ready to rebalance our apex, and most of the lifting is gone.
Now I like to go in with some smaller drill bits just to target some areas that I might not have been able to reach with my carbide bits. As you can see, there's a little product down the side wall that I can't quite reach, so I'm gonna opt for either the mini flat barrel or the mini pip to really target that product.
Both of these drill bits are diamond and should be used at nine to 14 RPM. I am just going to do a couple of passes in forward mode going down that site wall just to get rid of that excess product before I go in with my prep, and then reapplication of product. I do like to make sure that my debulking is completely smoothed out.
This is going to make my infill a lot easier. I'm using my mini mandrel and a two 40 GR sanding band, essentially replacing my buffer just to smooth all of that product out and make my reapplication super easy. And I'm buffing in forward mode using six RPM. I like to use this two 40 grit sounding band to remove any last traces of lifted product because it's much more gentle and I can target areas without worrying about a carbide bit shaving through natural nail plate.
As I mentioned, the sanding band is essentially replacing a hand buffer, so we can use it in a similar way, but we still need to make sure that we are lifting up and then passing over the nail, lifting up and passing over, and this is going to avoid friction burn.
