
Chrome Nails 101 - How To Apply Chrome
Chrome can be stunning, but it can also be tricky if you don’t know the right steps. Luckily, we’ve teamed up with Maisie (@maisejacksonbeauty) to guide you through it. In this tutorial, she shares her top tips for getting that flawless chrome finish, from full-cover mirror shine to delicate isolated details. Whether you’re chasing the “glazed stone” look or experimenting with autumnal chrome accents, Maisie shows you how to nail it with HONA products every step of the way.
WATCH NOW
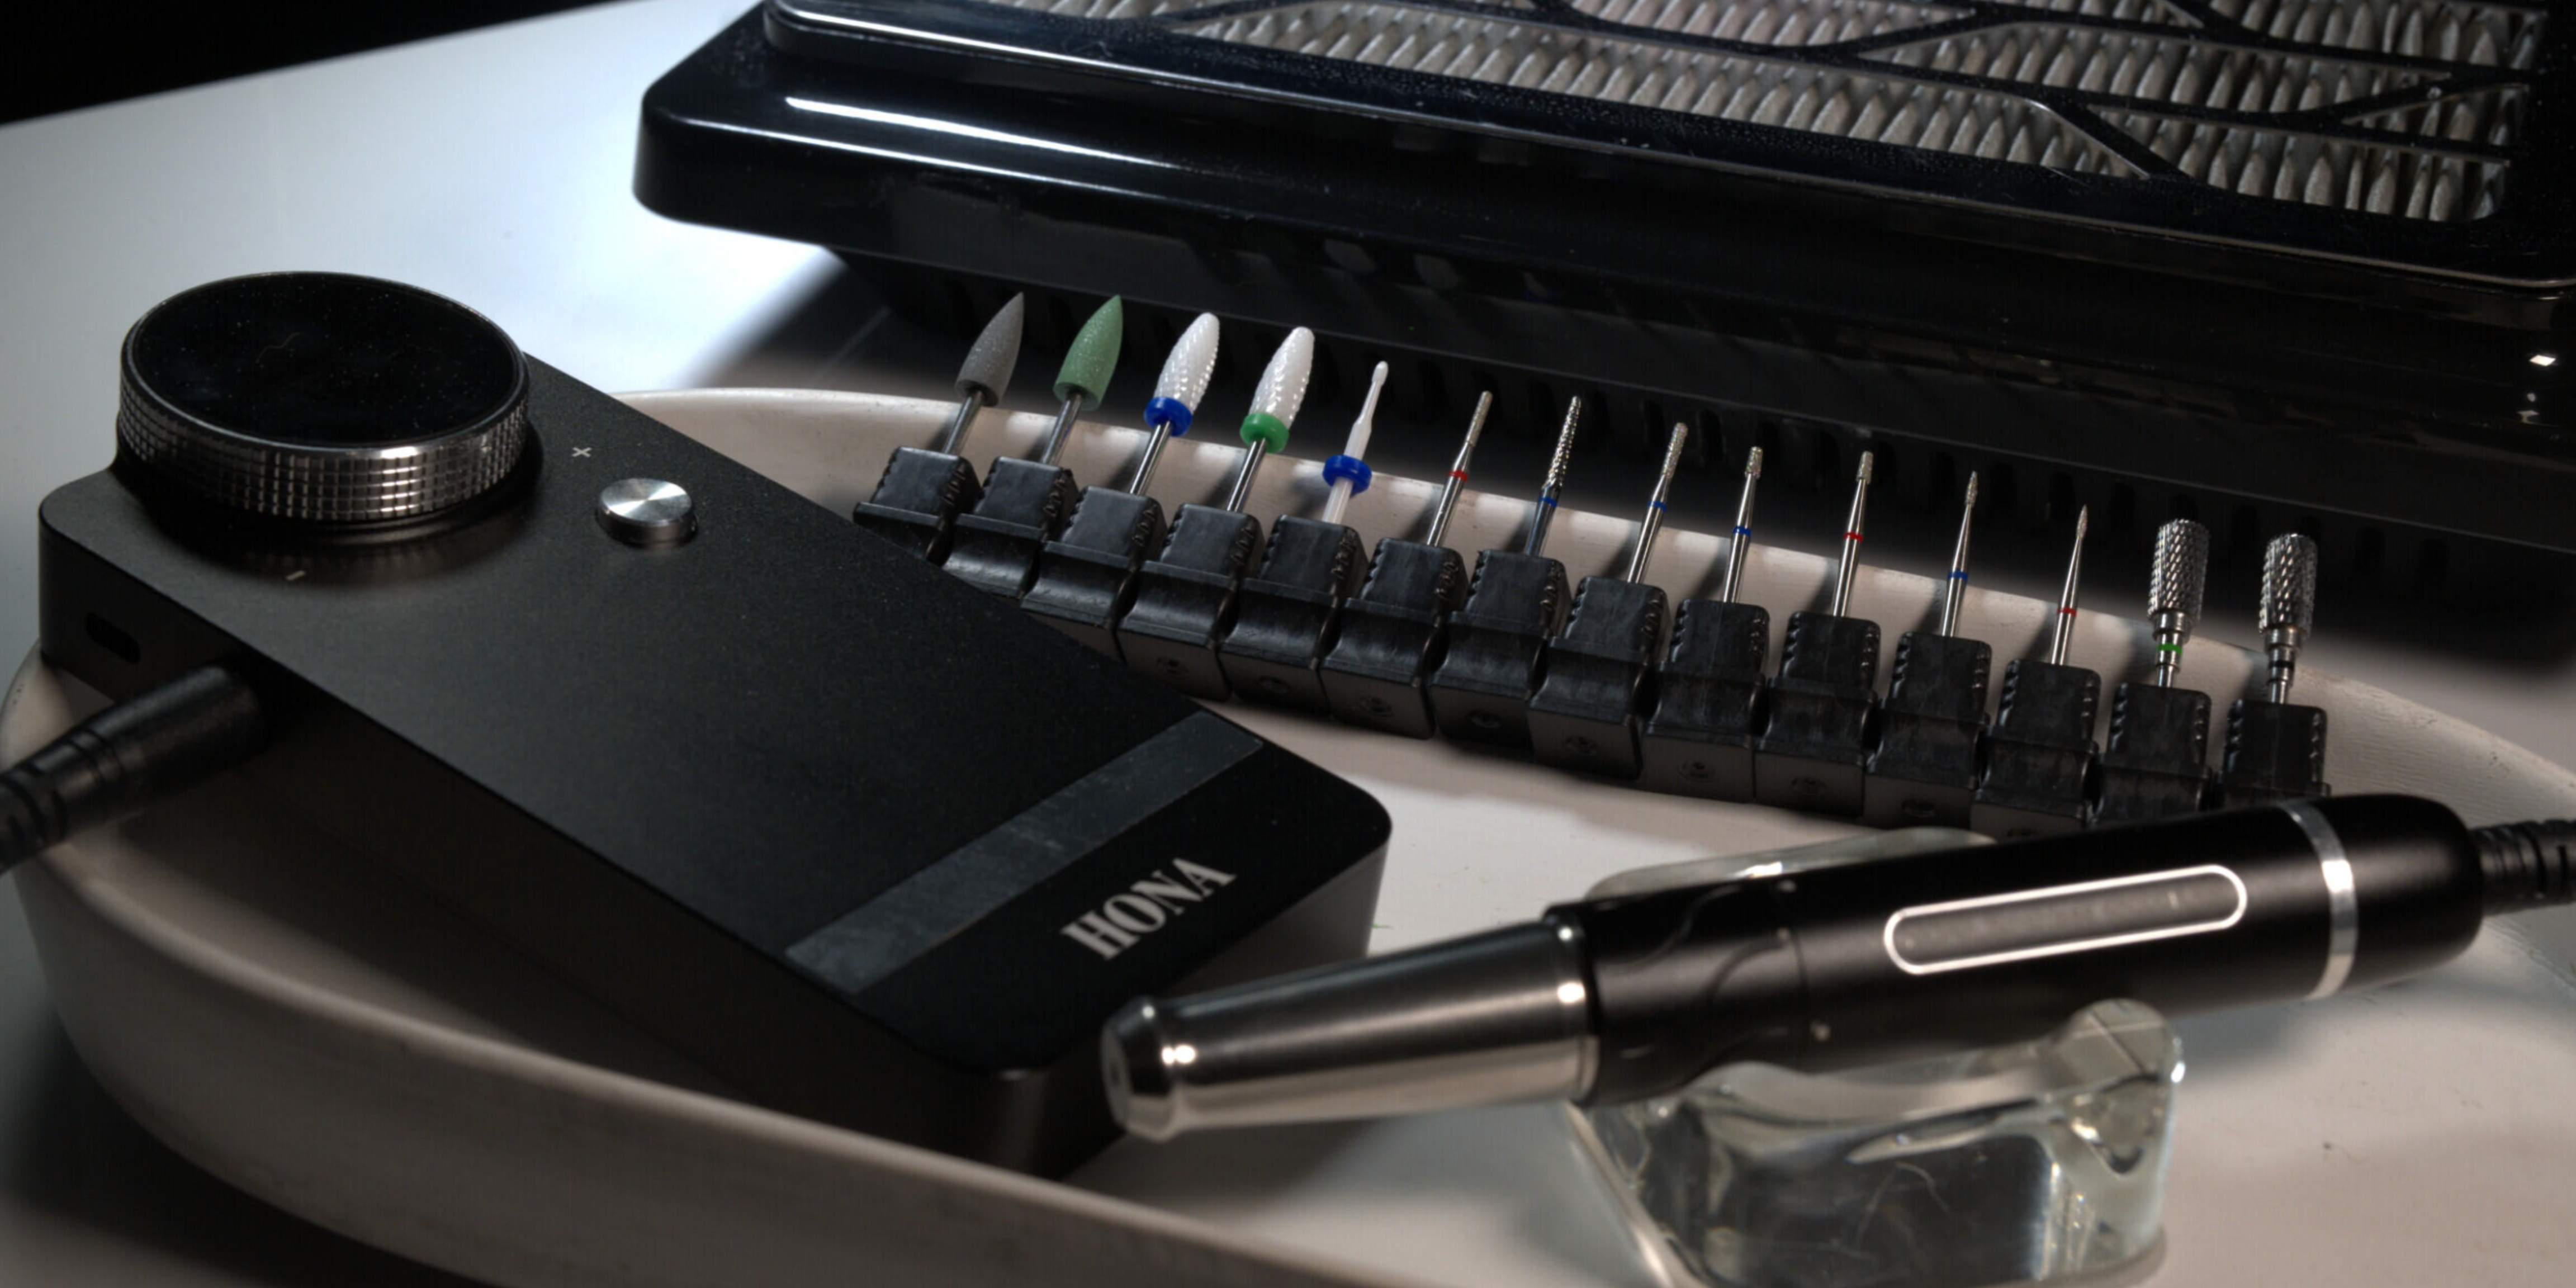
Products Used
-
SuperShine Top Coat – for that smooth, even base and glossy finish.
-
Pressed Chrome Powders – Clear Mirror Chrome, Espresso Martini, Long Island, Mirror Gold, Mojito, Synth.
-
Detail Paints – Green Velvet, Marigold, Glacier, Alaska, Polo.
-
Chrome Tool – Dual-sided chrome applicator and silicone tool.
-
Files & Buffers – 180 and 240 grit file, 240 grit buffer.
-
HONA Duster Brush – to gently remove excess chrome and dust.
-
TrueBond – to create the perfect sticky layer before top coating.
-
Complete Base – alternative method for isolated chrome base.
-
Lint-Free Wipes – to remove tack when using Complete Base.
-
Cuticle Oil – to finish and hydrate the nails.
Transcript
Hi everyone. I'm Maisie Jackson Beauty, and today I'm gonna be showing you two different chrome looks. One with just their gorgeous clear mirror chrome to get that Haley Bieber glazed stone look. And then another one with some isolated chrome tips and tricks and a full cover color chrome. So we'll start off with the easier tutorial of the full cover clear chrome. Your first step is applying super shine top coat to all the nails, even though this is a very simple step. It's probably one of the most crucial ones because if you have lumps or bumps, the chrome will really enhance that, so you want to make sure it's really thin and really evenly spread out. I also go in and cap this, and as you can see, when I place my hand in the lamp, I ensure my thumb is getting full light as if it's not fully cured. It can give that grainy, glittery look rather than the full. Chrome look, so I'm using the clear pressed chrome for this and I don't apply much onto the applicator. I see people load their [00:01:00] brush and really there's no need for that. You're just wasting it. You are leaving it all over the skin and sometimes it can make it look a bit more grainy, A little bit goes a long way with this, and you just really press it in with quite a bit of pressure as well. 'cause if you have any small little chunks of chrome, which isn't pressed in. Then the top coat won't really stick to that, and then it can make your top coat look lumpy and it's just not a good look for the chrome nails. Make sure it's really pressed in. Then once you are happy with that, I take a 180 or two 40 grit file and very lightly file. The free edge. This gets rid of any of the chrome because if there's any cream around it, the top coat will not. Stick and that's why often Chrome can ship so very lightly. 'cause obviously ho's retention is better when you don't file the free edge. Then I dust off any of that nail dust or chrome dust with the HONA dust brush, which is a holy grail for chrome nails. And then this is the best product for retention . Pure bond apply a very thin layer. As you can see, I don't have [00:02:00] loads of liquid 'cause that'll disrupt the chrome. I just take a little bit. Make sure to not overdo it because it can move the chrome around. But this just creates the perfect sticky layer so that the top coat will stick and it will not chip or peel away from the chrome underneath. Then top coat as usual, taking very good care around the free edge. This is. Such an important step with Chrome because if ever it's gonna chip, it's gonna be at the free edge. So if you make sure it's really capped and you've sealed it all in, then you shouldn't have any chipping. Then I'm just finishing with the ho cute coil as always. And those are my clear chrome nails. How blooming gorgeous. And then this is a little trick for the chrome haters out there. If you're really struggling, then give one of the detail paints a go. They have a really gorgeous. Selection of detail paints, which have that chrome finish. I've got Glacier, Alaska, and then there's polo, which gives that pearlescent finish. So give that a go if you're struggling. But now moving on to isolated Chrome. I have two [00:03:00] different techniques for creating the tack free base for isolated Chrome. The first one's using Super Shine top coat. This is probably my. Third one, but there are a few more steps, but I feel like this is an absolute foolproof way. So I apply soup, shine Topco here for 60 seconds, and then go in with a two 40 great buffer to buffer away any of that shine. It's important to use the light head to see where the top coat may be. So as you can see at the top there, there was a little bit of a shine. This is really good tip for checking that you've got tack free base. Just use a little bit of chrome and then it should just dust straight off. If you've got anything sticky, it'll stick to those areas. Another method is using ho's complete base. You apply that the same as you apply the top coat cured for the full 60 seconds, and then you wipe it away with ho's gorgeous limp free wipes. I love these. These are a hundred percent limp free. As an nail Tech we all know sometimes limp free does not mean limp free, but these do. Now when I say wipe this. Wipe it, wipe [00:04:00] it again, and wipe it once more. You want to make sure there is no tack. Again, try your little technique and you're good to go. Okay, now moving on to the isolated chrome. I'm just showing you here how different bases can give a completely different look to the chrome. If you do a white, it's a little bit lighter. A black has a bit more of a darker undertone. But I really love to match the color of the chrome to the color of the detail paint. That just gives it a really pure finish. I'm gonna be using espresso martini chrome, so I'm using seil detail paint as that's the closest I've got to the chrome color. And I thought we'd go for a little autumnal design, seen as though we are in September. I am a summer girl through and through, but we need a bit of autumn. I do love autumn designs. So I thought I'd do some little autumnal flowers, a bit of a mix between autumn and summer. Don't worry, guys, I'm not fully there yet. I'm just using the Hona striper brush to create these little flowers, and then we go and cure it for 30 seconds in the lamp. Now, before obviously we wanted a non-stick base. [00:05:00] Now we need a sticky base for the detailed paints, so you only cure it for 30 seconds. So it's got. Bit of something to stick to. When I was first applying this one, I was like, oh my God, is it sticking? No, just really work it in. And then I like to use the other side of the chrome applicator to dust away the rest. So if sometimes it does stick a little bit to the base, just use the other side and usually it'll wipe off. And then I'm going in with some little green fern leaves and I'm using green velvet detail paint here. I love doing leaves on nails. I find them so satisfying. Then again, cure for 30 seconds. I'm actually gonna use two different greens for this. So I'm using synth chrome and mojito chrome. I'm gonna take a dual-sided chrome tool, apply the dark one at the base, and then the lighter one at the top. I just thought this was a little bit of something different, add a bit of dimension. It doesn't really make that much difference, but it's quite fun to do. Again, that one was. Sticking a little bit, but again, it did just wipe off. So it was no stress really, but there was clearly something a little [00:06:00] bit sticky. Then I used Long Island Chrome and Mirror Gold as the base. Another reason why I really like doing matching bases is if there's any reason that it might chip a little, it's not gonna be super noticeable as compared to a. White detail paint and a black detail paint, if any of that gold chips you are not really noticing. Not that it will, but just in case. And also with Chrome sometimes, like if you have a hairdresser client or something, Chrome just isn't good for that because it is a little bit more fragile compared to gel polish. So just bear that in mind. Then I just went in and applied my chrome as usual onto those little gold flowers, and it's really coming together now. I love all these colors together. Gold, green, and copper. A defo, giving autumn vibes with a hint of summer. Then, because I don't really use heaps of chrome, there's not that much to dust off at all, but I take my just a brush, obviously, just to get rid of any of that. Then to finish the design off, I just added some dots inside the flowers with the marigold and cured for a full [00:07:00] 60 seconds. Then you can either go in with your soup, shine topcoat or apply a sticky layer in between. You could go in with pure bomb, but I didn't feel the need. It depends how raised you do it. I looked from the side and mine looked quite flat, and if you float on the top coat, you can encapsulate it enough. However, if you did feel like it was layered. You could apply a layer of pure bond or you could apply a layer of pure foundation, clear or even complete base, whatever floats your boat. But as I say, I felt it was enough just applying a bit of SuperShine, top coat, and those are the two isolated chrome nails done. But I'm just gonna show you how I do a full cover chrome with a stronger colored chrome. So I like to match the color of the base to the color of the chrome, just like isolated. But we don't go over the chrome with that base color. We cure that for the full 60 seconds. And then like the first tutorial we apply soup shine, top coat, apply it really smoothly like you did with the full cover. Clear chrome and then cure for a full 60 seconds. I [00:08:00] then take a little bit of espresso martini chrome on the applicator and really press that in. This looks so good. I'm obsessed. The chrome finish, I literally look like a ball ball. It's. Amazing. I then did a video showing you what it looked like on top of just the detail paint. And as you can see, it's not really as crummy. It's definitely more of a glittery look. So to get the chrome look, you definitely have to do it on top of a top coat for the full cover chrome. And then again, I found the free edge dusted. I applied a layer of pure bond and then finished with soup shine topcoat. And those are the chrome nails. Done. That was a little tutorial for you guys. I really hope you enjoyed them and found it really useful. Let me know if you recreate any of them. Tag me in your Instagram posts. I'd love to see it all. But yeah, thank you so much for watching. Using this transcript can you please help me to introduce a blog -Join Maisie @maisejacksonbeauty as she shares her top tricks for using HONA chrome from full cover to isolated details

%20to%20guide%20you%20through%20it.%20In%20this%20tutorial,%20she%20shares...)