
HONA's Guide To Curing Gel Products
Welcome to our comprehensive guide to curing HONA gel products!
In this guide, we'll go through some of our most-asked questions when it comes to curing our gel products, including how long you should be curing each product in your service.
Let's get into it!
Can I over cure my gel product?
In short, no. Within your gel polish product, there is a maximum amount of reactive sites. If all of the available reactions have taken place, that is a complete cure. This means, the gel polish can be cured up to 100%, you cannot cure it to 110% because the cure possibility is only up to and including 100%.
If you have a tin of just 10 biscuits, you won’t be able to eat 11 biscuits because that 11th biscuit didn’t exist in the first place.
Can I under cure my gel product?
You certainly can under cure product, it’s important to follow the recommended cure times to work safely and ensure your products are as effective as possible.
At times gel can appear solid on the top layer, when actually it hasn’t cured all the way through. This poses a few issues; ineffective adhesion where the bottom layer residing on the nail plate has not adhered properly and of course under cured gel sitting on the nail plate for up to 4 weeks. Leaving uncured gel on the nail plate can lead to sensitivities, skin irritation and allergy.
A great way to test if your gel is curing properly is to take a bead of Builder Gel (TrueBuild, TrueFoundation or BuilderPot) (the volume/thickness of gel you think you’ll be using on your client) apply it to a form, cure for the recommended time of one minute and then check the underside of the gel once its cured - if the underside is still liquid, then your product has not cured properly. If you’re using the correct lamp, recommended time and thickness, then your gel should be completely solid.
This test won’t tell you everything you need to know about your gel curing safely, but it will give you some insight into any possible curing issues.
What is a heat spike?
To understand a heat spike, we first have to understand what photoinitiators are; a photoinitiator is an ingredient within your gel product that is designed to react with UV/LED light, these photoinitiators are what allow your product to go from a liquid state to a solid state in what’s called the polymerisation process, or the curing process.
The volume of photoinitiators within HONA’s gel system has been carefully considered to ensure the cure is effective in the HONA cordless cube lamp and you can expect little, to no heat spike. The exothermic reaction, or heat reaction, is measured using a thermocouple (a device used to measure temperature) to immediately measure the temperature as the gel is curing and this is how we’re able to ensure the gel cures comfortably for the client whilst curing effectively.
However, if you’re using a HONA gel product or in fact any gel product, in a lamp it wasn’t designed to be used with, the heat difference could be significant.
To avoid heat spikes, make sure you’re following the recommended guidelines, using the correct lamp and the right cure times for each product.
If a client has weak or damaged nails, this can also play a role in heat spikes. Damaged nails, in particular, will have more blood flow in the injured area of the nail and will in turn experience more heat. Other factors are room temperature and hand temperature which also impact the level of heat experienced. The warmer the gel is initially, the faster the photoinitators are going to react to the UV/LED lights. The faster they react, the warmer that sensation is going to be for the client.
Most of the time heat spikes aren’t going to impact the health of the nail bed, however, heat spikes are a real and tangible temperature that can be measured just like the weather or the temperature of an oven. It’s important to mitigate the temperature of the cure by utilising low heat modes, flash curing and simply communicating with your client and asking them if they’re comfortable. It’s normal to feel warmth in the lamp, but not a painful burn.
What are some signs that my gel hasn’t cured properly and how do I avoid it?
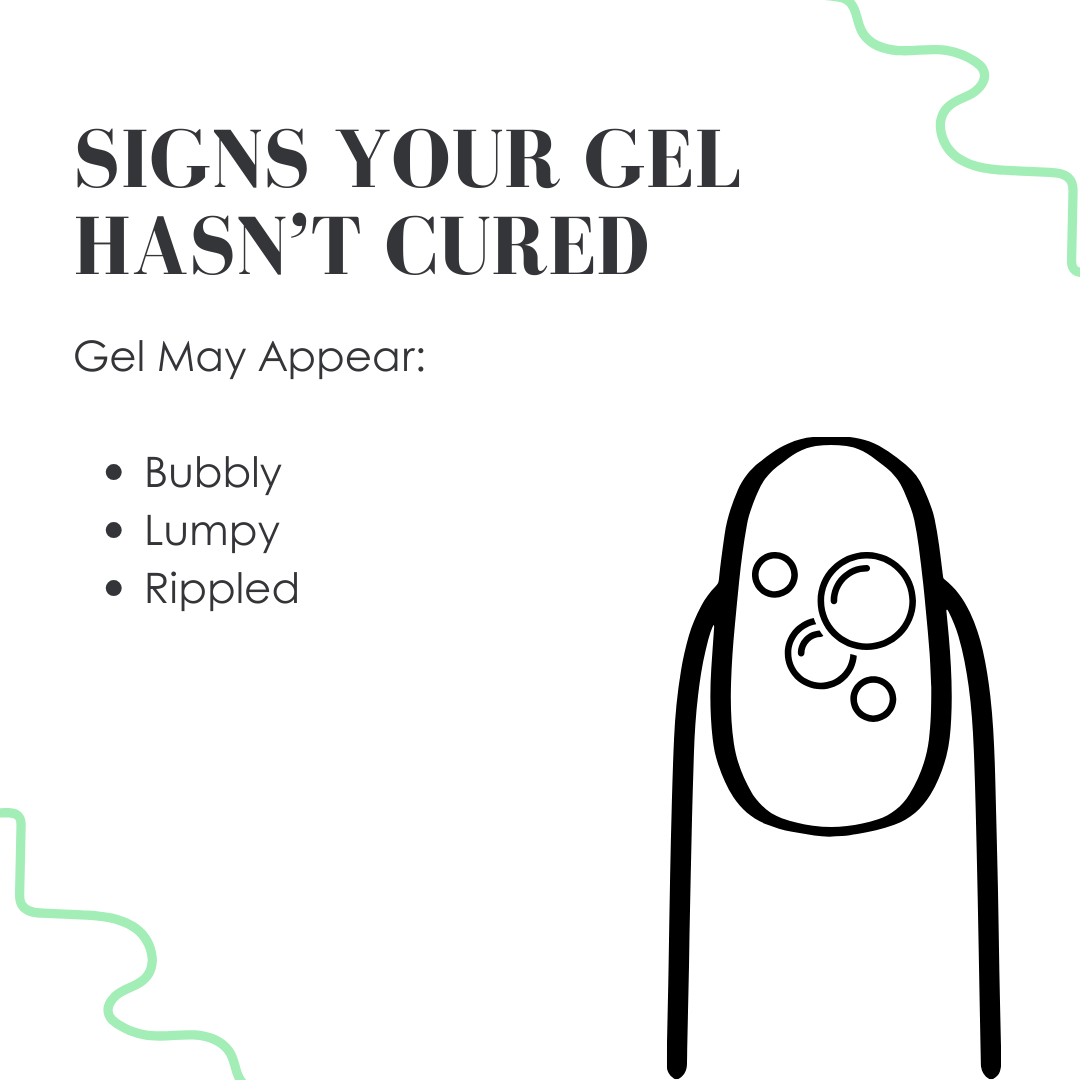
Gel may appear bubbly or lumpy, it may ripple if touched with a tool and it may wipe away if rubbed with a lint-free wipe and alcohol.
Often technicians will experience this with darker or more pigmented colours and if the correct lamp/products aren't being used, this is usually down to the thickness of products applied. It’s imperative that gel, particularly more pigmented colours like white, red and black, are applied in thin and even coats - remember, your UV/LED lamp lights need to penetrate not only the thickness of the product but the pigment within the gel too. If the gel is applied too thickly, the light will not be able to power through those layers and cure the product.
Should I cure my detail paints for less time when I’m using chrome?
No, detail paints have the recommended cure time of 60 seconds which still allows chrome to adhere to them.
Does my lamp have an expiry date?
There will come a time where any lamp from any company will need to be replaced due to becoming less effective.
Unfortunately, we aren’t able to provide an exact lifespan because this will depend on how often the lamp is used, volume of clients, type of art and how many times it’s used during each appointment etc.
We would recommend keeping an eye on the curing throughout your lamp’s life, if you have any concerns that the lamp is no longer effective then do a cure test on a form (like mentioned above).
Your HONA Cordless Cube has a 1-year guarantee.
If I have a lamp with the same wattage as the HONA cube, does that mean it will cure HONA?
Wattage, alone, cannot accurately determine whether your lamp will cure HONA products effectively. Every brand seems to recommend their own lamp, but why? Well, all lamps and brands of gel polish combinations cannot be tested, there are too many variables to number! So, instead, your chosen brand should test their gel system with their recommended lamp (under lab conditions) and determine the right lamp for their system.
There are a number of factors that your brand will consider when selecting their recommended lamp:
- Irradiance value - The Irradiance Value refers to the intensity of UV/LED light emitted from lamps, measured in milliwatts per square centimetre (mW/cm2). For optimal curing, different brands of gel polish require specific irradiance values for proper curing; choosing a lamp with an appropriate value ensures efficient and effective curing time and is one major factor that influences whether under cure occurs with your gel.
- Wavelength - Wavelength is an important factor in the curing process for gel polish. Different brands require different wavelengths in order to cure successfully; using a UV/LED manicure lamp designed specifically to work with each brand ensures the appropriate wavelength for optimal curing results. To provide optimal curing results when used for HONA manicures, lamps requiring radiation values between 365-400 nanometers (nm), known as UV-A range are needed.
- UV/LED light quantity and placement - An easily overlooked aspect is LED placement. LED's may only be found at the top or sides of a lamp depending on what kind of lamp it is. Lamps equipped with LED's placed all over have superior coverage and ensure that gel polish cures evenly and smoothly, decreasing any risk of under-curing areas. Mirrored interiors will also help LED placement, where light is able to bounce around and evenly illuminate all parts of the lamp for smooth curing processes.
-
Curing times - Curing time is of utmost importance; different brands of gel polish require various curing times that may differ depending on which lamp is used to cure them. Utilising a UV/LED lamp recommended by the brand ensures that gel polishes are cured efficiently, mitigating under curing which could result in lifting or other more serious complications like skin irritations/sensitivities.
Will my UV/LED lamp cause skin damage?
We don’t believe there is any scientific evidence to suggest skin damage can come directly from a UV/LED lamp.
We would recommend reading Jim McConnell, our chemist, blog post on the most recent ‘scientific study’ on overexposure to UV/LED lamp lights causing skin damage.
Source: UV CURING LAMPS CAUSING SKIN CANCER?
My topcoat has gone matte, why?
The most common reason is hand placement. Often the top coat will be cured, the client sent home and then later they will discover a matte patch, usually after they have washed their hands.
Usually, a matte patch will occur on the inside of the fingernail (the part not exposed to as much light), the right side of the left thumb or the left side of the right thumb (the parts of the thumb that slope down).
It’s important to keep your clients in the loop with hand placement - within the HONA Cordless Cube there are finger indents to assist your clients in placing their hands correctly. Hands should be relaxed, fingers should be relaxed and separated and thumb should be slightly elevated - we recommend curing the thumbs separately for clients who experience issues with thumbs not curing correctly.
SuperShine, although a tack-free top coat, should always be wiped with IPA (alcohol) after application - this will highlight if any areas have not cured effectively i.e. gone matte. Once nails have been top coated and removed from the lamp, wait 10-15 seconds for the gel to cool, wipe with IPA and then apply oils/creams.
My topcoat seems to streak/pit, is this due to curing?
Sometimes the inhibition layer can interrupt the top coat, this has nothing to do with curing issues. Try wiping away the tacky inhibition layer first and then gently apply your topcoat. Let that settle for a few seconds and then cure in the HONA cube for 1 minute.
Conclusion
In summary, ensuring proper gel curing is crucial for optimal results and for client safety. Over-curing not possible, akin to not being able to eat more biscuits than are available in a tin. Under-curing leads to adhesion issues and potential skin sensitivities or allergies too. Recognising signs of improper curing and following recommended guidelines is essential and understanding lamp compatibility and post-application protocols further ensures quality manicures.

