
Monochrome Halloween Nail Art Tutorial
If you’re looking for Halloween Nail inspo then, we’ve got you. We ran a competition in the Facebook HONA Community, looking for the best Halloween nail look. There were so many jaw dropping entries that it was hard to pick a winner. In the end, it just had to be this monochrome masterpiece from Abigail Kate Roscow. We love how there’s a different design on each nail and how Abigail has showcased so many ways to use HONA detail paints and art gels.
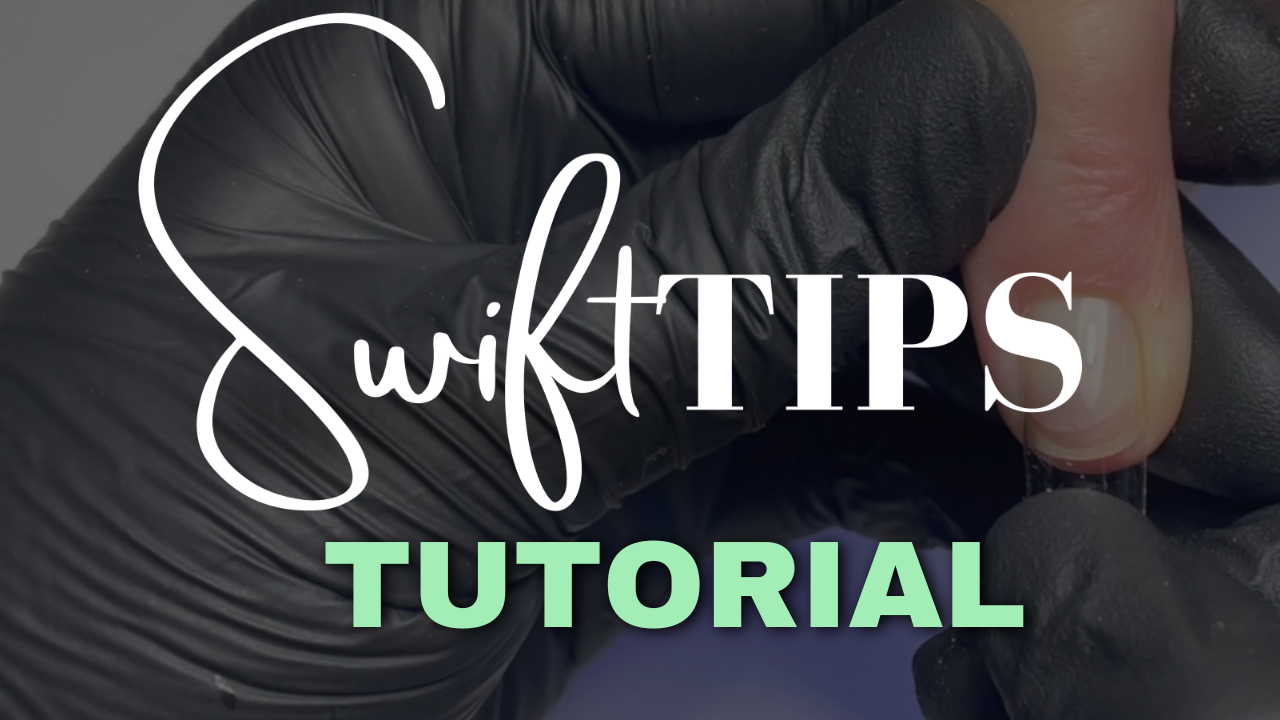
Abigail put together this step-by-step tutorial video for us:
Before You Start
Prep the nails with PureBuild Bubble and wipe away the inhibition layer.
What you’ll need to create this design:
- PureBuild - Bubble
- Detail Paint - White
- Detail Paint - Black
- Detail Paint - Mirror Silver
- SuperShine Topcoat
- A Large Full Cover Brush
- A Long Liner Brush
- A Dotting Tool


Video Transcript
Hi guys, I'm Abigail and I'm going to show you how I created this Halloween look. All you'll need for this design is white and black detail paint, mirror silver, a large, round, full-cover brush, and a long liner-brush. The nails have already been fully prepped and I've applied PureBuild in the shade ‘bubble’. I'm just wiping off that inhibition layer. Now, I always do this before my designs because I find it helps keep my lines nice and sharp and crisp. So the first design I'm going to show you today is a little drippy ghost. So I'm starting near the top of the nail, just drawing a circle in white detail paint. With what's left on my brush, I'm going to just fill in the centre of that circle, making sure it's fully covered and even. I really, really struggle to get a circle perfectly rounded for the first time. So I'm just adding a little bit more on each of the edges, just getting it nice and rounded. So moving on to the drips, I've dragged that white detail paint down to create the droplet effect and made sure the sides are nice and rounded though, so it really blends and makes it look seamless.
Going in now with the black detail paint, I'm just creating the face of the ghost. So I've drawn two lines for the eyes and then a squiggly line for the mouth. With this design, I really have made sure I wiped off most of the excess from my brush, just so my lines can be really sharp and then tracing around the ghost to create the outline of the design. So once the outline is completely finished, I'm going in with my SuperShine Topcoat. This is my absolute favourite, and I’m really making sure I scrub the topcoat on the nail, just making sure I cover every single area, capping the free edge. And that’s your ghost done.
Moving on to the swirly nail now, I'm using black detail paint and I'm starting in the top right hand corner with very light pressure, dragging the product down the nail. I'm adding more products at the bottom just to make it slightly thicker, and then going in with my white detail paint and copying that line again. Remember, very light pressure at the top and drag your product down making it slightly thicker at the end.
For this next line, I'm going in with a very pale grey. I've actually mixed my white and black to create this custom shade which is one of my favourite things to do with the detail paints. I just think it allows you to have such a wide variety of colours to offer to your clients. Then, going in with a dotting tool and placing two little dots with Mirror Silver. Then, I’m going to drag the product down to the sides and up to create little stars. I am changing the angle of my brush to enable me to drag as much product from the centre of the dot out to create that flick.
I’m finishing off the look with my SuperShine topcoat. Again, really making sure I scrub that product into the nail, covering all areas and capping the free edge. This nail now was my favourite design from the whole set. I'm starting off with white detail paint and creating a heart right in the centre of the nail. Again, I don't always get it perfect the first time so I'm adding small amounts of the product until I'm completely happy with the shape. The custom shade is back, I'm going in with the very pale grey and tracing the outline of the original heart. The next colour is black, so again, I'm tracing the custom shade with the black detail paint, making sure I cover each side. I’m changing the angle of my brush again to help me create that perfect arch right at the top. Mirror Silver's up next. So like the previous steps, I'm just tracing the outline of the heart making it bigger each time. As you can see, with just repeating each step from the very start until we've completed the very full nail, so that's the white detail paint, the custom shade, black and then mirror silver. It does get slightly tricky as we get to the cuticle so I really make sure I've wiped off a lot of the excess so I don't flood the cuticle, starting at the arches and then filling it in near the top.
The SuperShine topcoat goes on next, making sure we keep the free edge and locking in that whole design. The index finger’s next, and I'm going to show you how I create the skull cherries, going in first with white detail paint, creating a circle then dragging two lines down and joining it in the middle. That creates your first skull. Following those same steps, I'm creating the exact same shape, but very slightly overlapping.
Then adding a little leaf joining two lines together and creating two little stalks. Again, I'm adding two dots with mirror silver then angling my brush and dragging the product from the centre, creating those perfect flicks. SuperShine topcoat to finish, making sure I scrub the product in and then cap the free edge.
For the final design. I'm going in with my large round, full-cover brush and white detail paint. I'm getting as close as I can to that cuticle and really scrubbing the product into the nail, making sure it's nice and even, then curing for 60 seconds. Repeating that step again, I'm going in with my second coat, not too thick, nice and even, thin layers. Remember to try and get as close as you can to that cuticle. Now with my loaded liner brush, I'm going in with black detail paint and drawing a line right down the centre of the nail, the same again, but this time across the nail so we create a checkerboard. Then going in with more back detail paints, filling in the bottom right hand corner of the design and then repeating that on the top left corner of the design, making sure I'm keeping all my lines really sharp and clean.
The final step is adding the SuperShine topcoat, scrubbing it onto the nail covering all areas and capping that free edge, and this is the final Halloween look that we've created together.
Thank you so much for watching.
Don't forget to join the HONA squad over on Facebook!

